The stories of the Betchworth locos and where you can see them
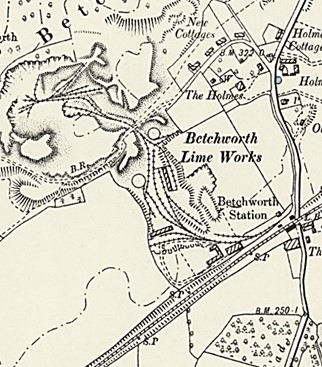
Betchworth Quarries
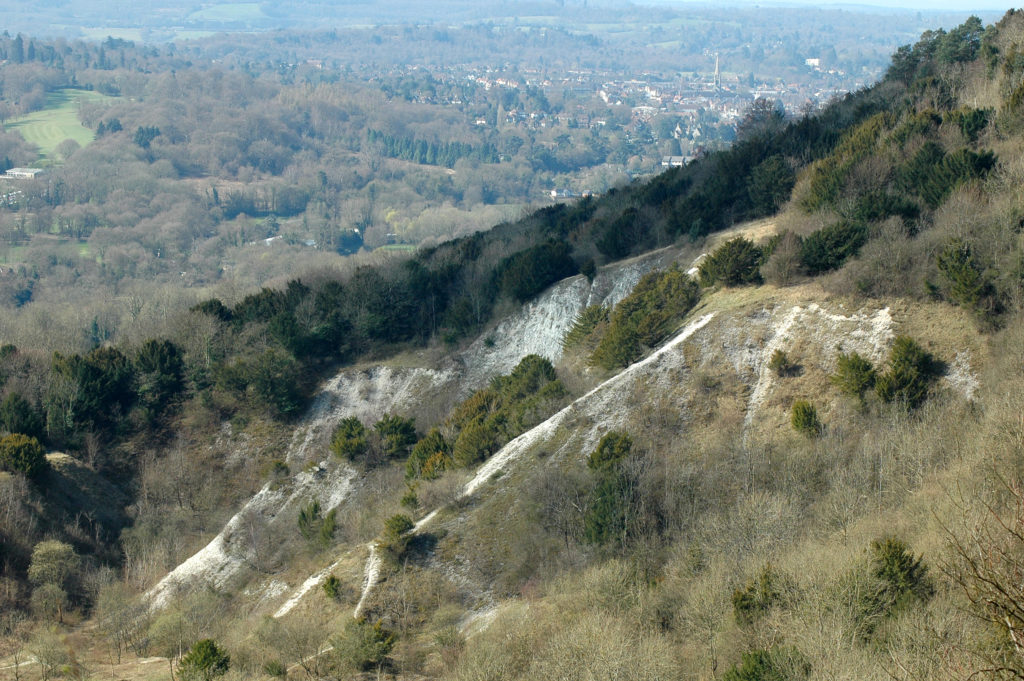
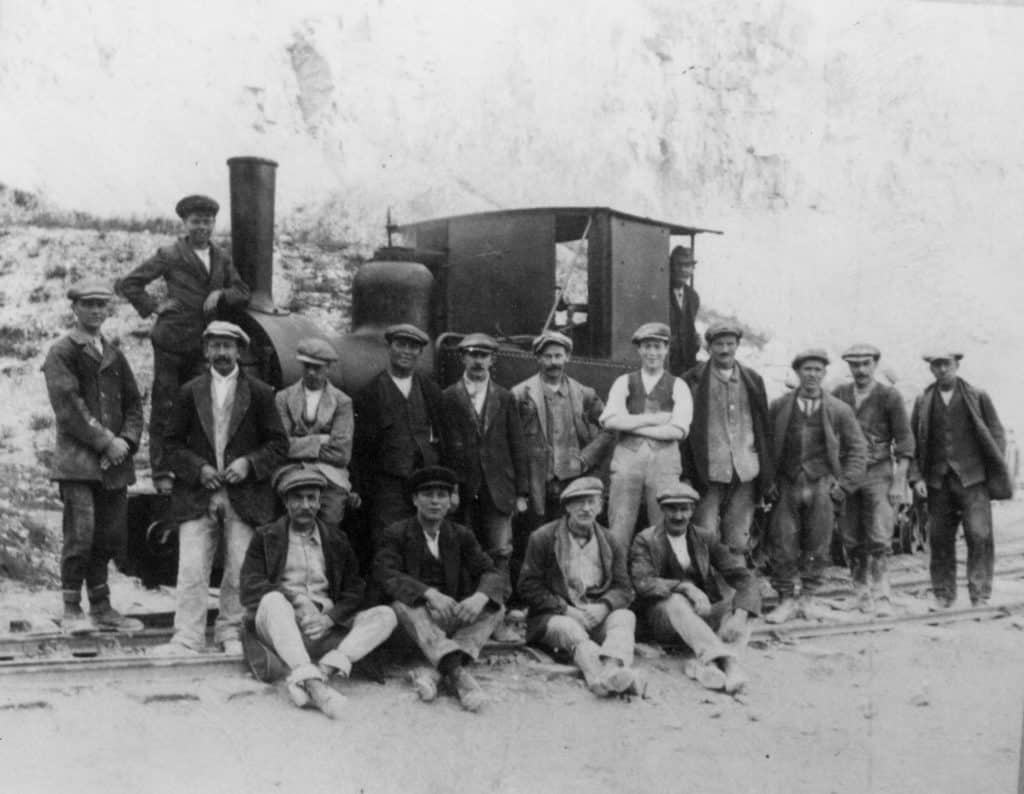
The chalk quarries along the North Downs, to the east of Box Hill, were big business and employed lots of Dorking people. Today, the scars of the old quarries can still be seen.
Quarry railways made it profitable to dig out and process chalk on an industrial scale at Betchworth.
To make it work, the railway had different gauges of track.
Narrow gauge lines ran between the quarry faces and the lime kilns. These were served by the small engines.
Standard gauge lines (like we have today) were used to join up with the main railway at Betchworth Station and were operated by the large engines.
In the early days, teams of horses hauled the trucks. Then in 1871, Betchworth’s first steam loco arrived.
The Big locos
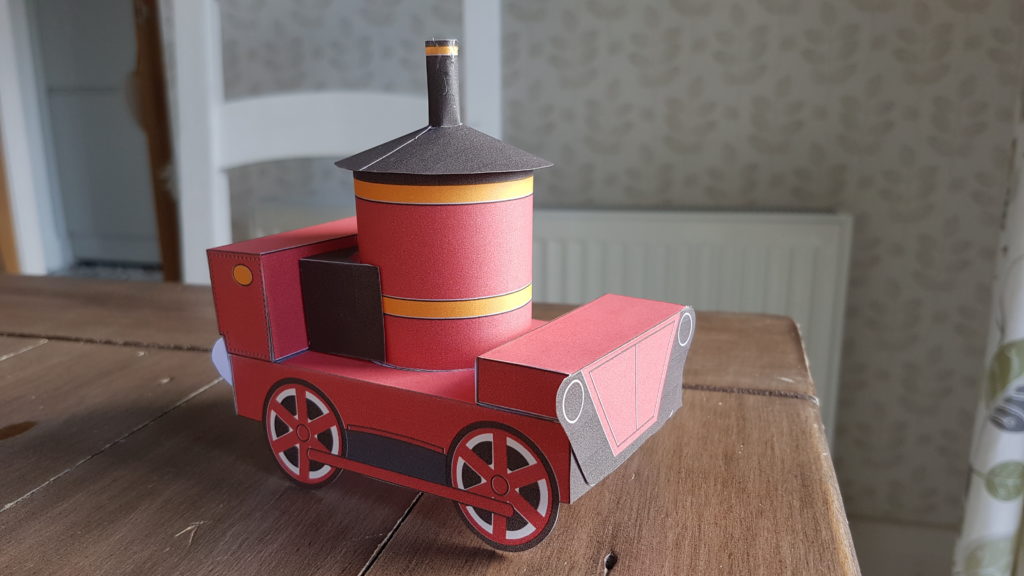
Loco No 1: The Coffee Pot
Loco No 1 didn’t have a nameplate, so it was nicknamed The Coffee Pot by the workers because it had a vertical boiler. This engine served the company well because it carried on working at the site for over 80 years.
The Coffeepotat Beamish. Photograph courtesy of Paul Jarman, Beamish Museum
The Coffee Pot survived and has now been fully restored. It never looked so clean – and it still goes! It can be seen in steam at the Beamish Museum in Co. Durham.
To protect your personal data, your connection to YouTube has been blocked. Click on Load video to unblock YouTube. By loading the video you accept the privacy policy of YouTube. More information about YouTube's privacy policy can be found here Google - Privacy & Terms.
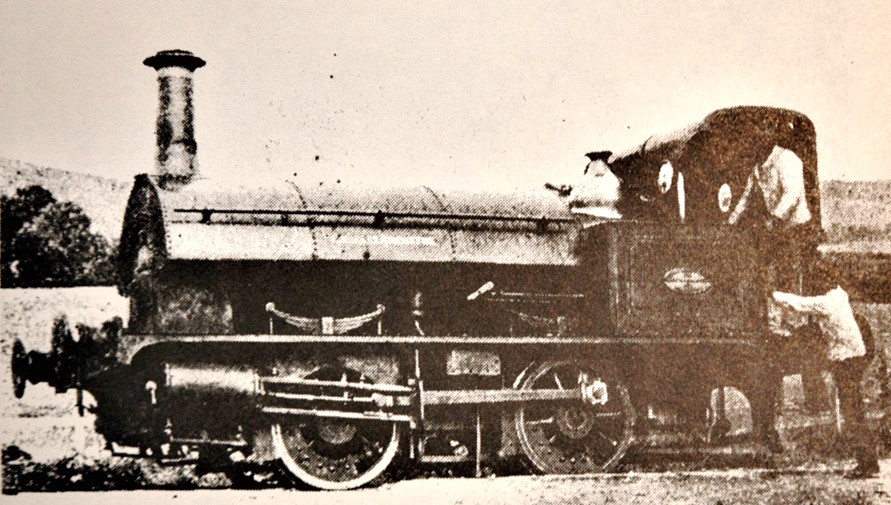
In 1875 the Coffee Pot was joined by Charles Augustus – a second-hand tank engine.
Charles didn’t quite make it as one of the Betchworth gang. He only lasted at the lime works for three years because he wasn’t the right engine for the job. He had tall saddle-tanks and the drivers soon found that his centre of gravity was so high that it made him unstable on the steeper tracks and particularly at the tight curves. Nobody wanted an accident, so Charles was rehomed at a gypsum mine in Sussex, where it was flatter, safer workplace.
Charles Augustus loco. Photograph courtesy of Amberley Museum
This is the only photo known to exist of Charles Augustus
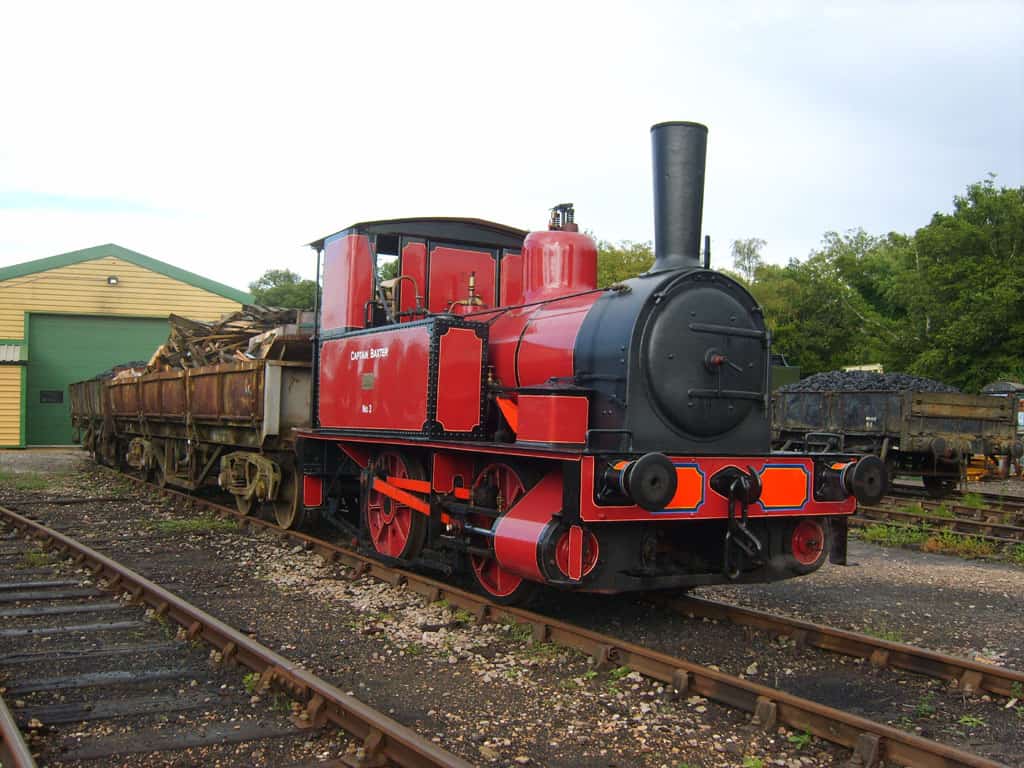
Loco No 3: Captain Baxter
In 1877, Captain Baxter took his place and became the third and last loco to run on the standard gauge lines. Baxter had a distinguished career at Betchworth and ran right through until 1960. He was the last loco in steam at the works.
Baxter at work. Photograph courtesy of Amberley Museum
Phillip Ross, who was a boy at the time recalls Baxter’s last day at the quarry. The driver must let him have go:
‘I think I was the last person to ride on Baxter and indeed Mr Smith let me drive her pulling then pushing one truck down to the siding west of Betchworth Station. If I had been a year younger the works would have been closed and I would never have driven Baxter.’
Thanks to the efforts of enthusiasts, Baxter was saved for all time.
Baxter with trucks at the Bluebell Railway Photograph courtesy of The Bluebell Railway
Today you can see Baxteron the Bluebell Railway in Sussex. For the time being, he is on static display because he is a precious engine and is now being renovated to go back into service. See the Bluebell Railway website for further updates.
To protect your personal data, your connection to YouTube has been blocked. Click on Load video to unblock YouTube. By loading the video you accept the privacy policy of YouTube. More information about YouTube's privacy policy can be found here Google - Privacy & Terms.
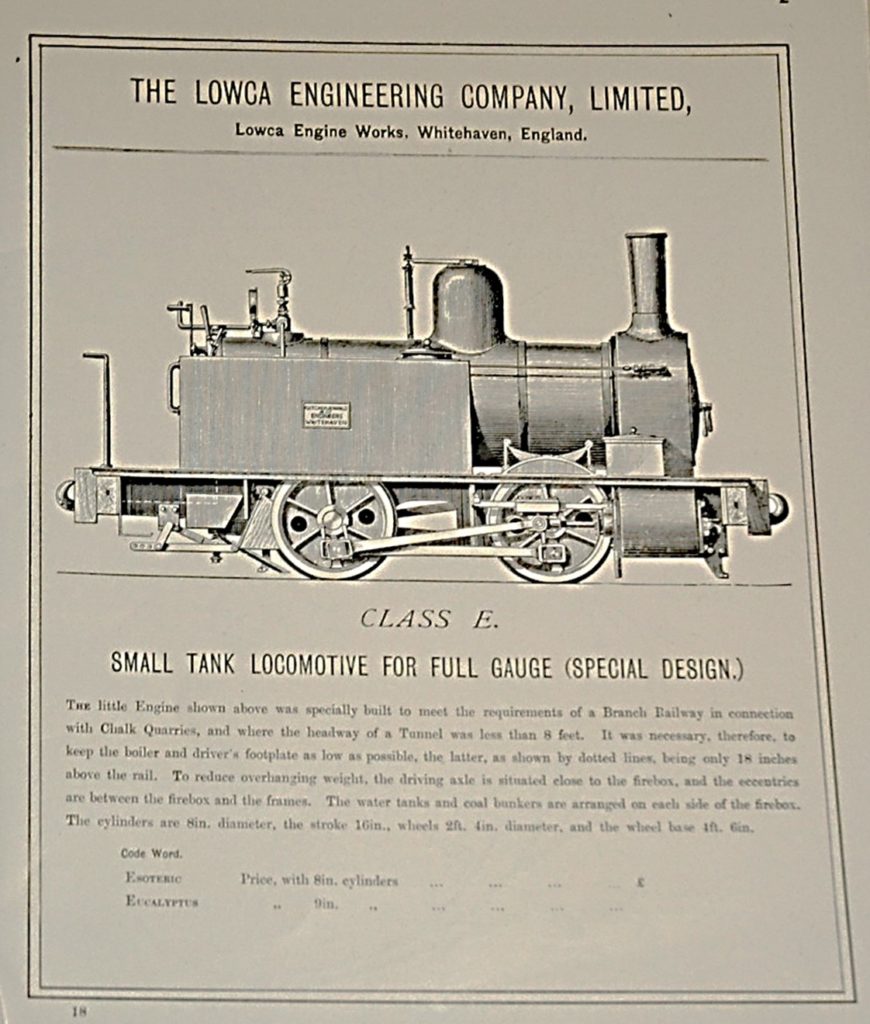
Narrow gauge tracks were used to carry the raw chalk rock to the lime kilns, so they had to be able to get close to quarry faces. The working faces of the quarry kept changing and the narrow lines were much easier to move to the best positions.
Two almost identical E Class Fletcher Jennings engines were brought in.
Poster courtesy of Amberley Museum
Townsend Hook and William Finley became Locos 4 and 5.
Of the ‘Twins’, poor Townsendfound himself a bit ‘accident prone’, not that it was his fault. On the day he arrived, the man assigned to drive him was more used to driving the horses than locos. The next morning was to be the big ‘steam-up’, so the driver thought he could save time by moving Townsend into the right position. He climbed aboard and loosened the brake gently, so Townsend could roll gently downhill into his shed. However, nobody had told the driver that the brake handle had to be turned anti-clockwise, instead of clockwise. Townsendwent crashing through the back of his shed! The shed came off worse.
Townsend’s most disastrous day
A more serious incident happened in January 1937. Townsendwas just doing his normal job on the quarry incline when there was a loud crack. His quick-thinking driver jumped out of his skin when he realised that a vital cable had snapped further up the line and trucks were hurtling down by gravity towards them. Miraculously, the driver dived clear just in time. The trucks collided with poor Townsendand the little loco was hurled sideways over a bank down to the next level where he fell on his side in a cloud of steam and smoke.
Townsend on his side after the crash. Photograph courtesy of Amberley Museum
Fortunately, Townsendsuffered just a few dents and, after a few minor repairs was soon back to work, though his scars remain to tell the tale.
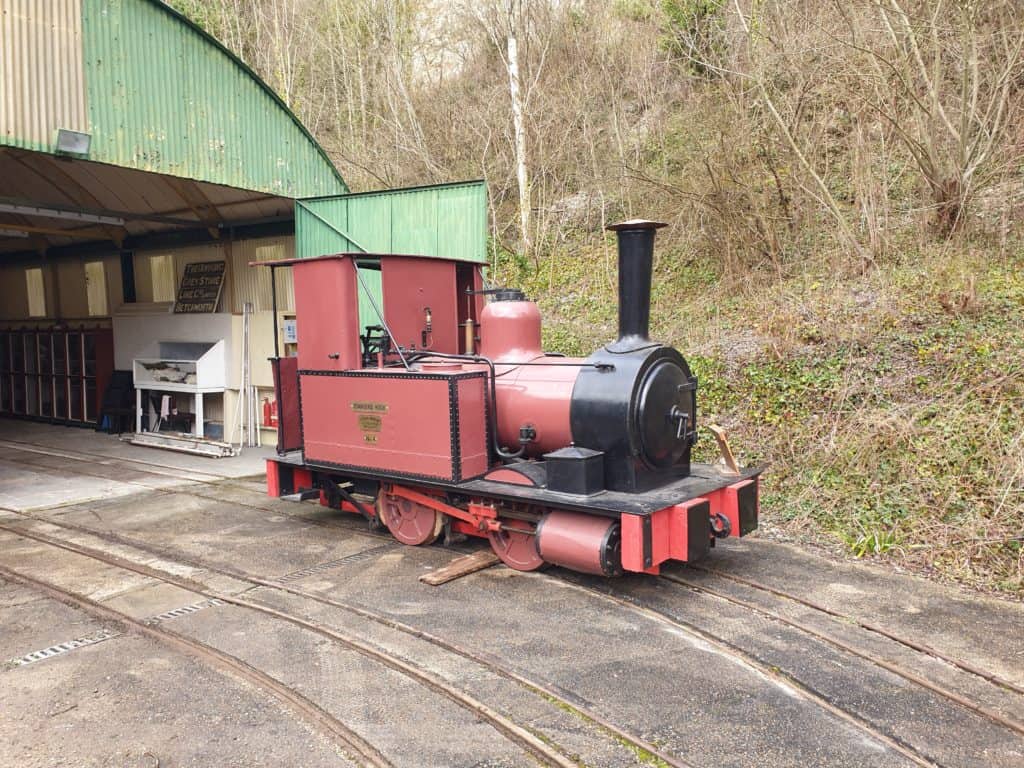
Townsend restored. Photograph courtesy of Amberley Museum
After a long and proud life at the Betchworth Quarry and Lime Works, you can now see Townsend Hookfully restored on display at the Amberley Museum.
The steam locos on the narrow-gauge tracks were eventually joined by two Montania diesel locos, Monty and The Major.
Photograph courtesy of Gerry Cork – Amberley Museum
Today Townsend Hook can be seen along with his friends, Monty and The Major, on display at the aptly named Betchworth Hall, next to ‘Brockham Station’, at Amberley.
In 1960, the days of the quarry railway came to an end and the whole railway system was dismantled to be replaced by a fleet of lorries. Though the tracks are long-gone, the locos live on thanks to the dedication of our local railway enthusiasts.
Dorking Museum is not responsible for the content of external websites.